Example Limewash Projects in Federal Way

More than three-quarters of Federal Way’s homes were built between 1960 and 1999, with the 1980s the busiest decade. Three of these examples are inside 1980s and 1990s houses, and the fourth is a shop.

They are examples to plan with, not past jobs. No client or address stands behind them, and each scope, schedule and cost reflects what that surface normally takes at current prices, so you can measure your own project against them before a quote.

Streaky faux limewash replaced in a 1990s stair hall

Example project
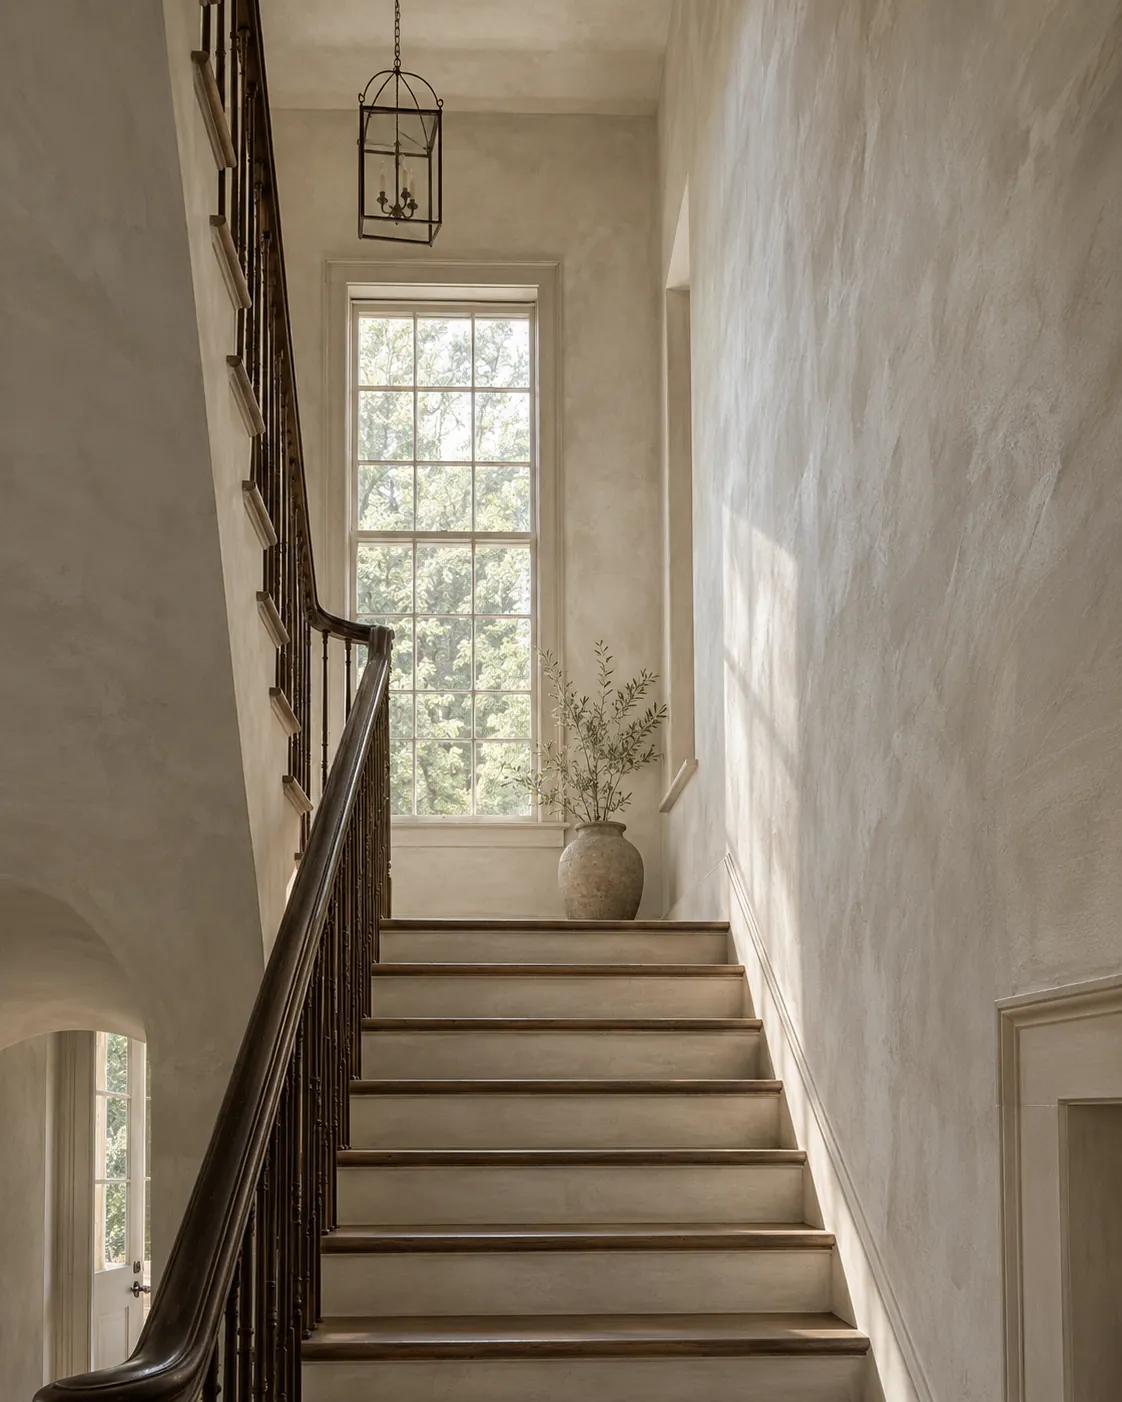
Tall stair hall in oatmeal limewash with a dark wooden handrail, iron balusters and a tall landing window
Home
1990s two-story house
Original request
Replace a streaky “limewash-look” acrylic paint with real lime
Surface
Painted drywall in the stair hall, on the landing and along the upstairs hall
Area
About 1,050 sq ft of wall
Existing finish
Acrylic paint sold as a limewash look, streaky and slightly shiny
Finish
Light sanding and undercoat, then a lime paint in oatmeal, two coats
Timeline
Five working days
Estimated cost
$6,800

Scope of work

A scaffold tower in the stair hall; masking of the treads, handrail, balusters, trim and window; light sanding and cleaning of the acrylic finish; the undercoat; two brushed coats, with two painters on the tall wall; clean-up and the tower taken down.

Project overview

In this example, the stair hall is painted with an acrylic sold as a “limewash look”. It has dried streaky and a little shiny, and the owners want the real thing.

Paint like that is still acrylic paint, so the walls are treated like any painted wall, with a light sanding and the undercoat the lime needs. Most of the time goes into the tall wall beside the stairs, which two painters brush together from a tower.

The goal

The goal is a soft oatmeal stair hall with real lime movement from the front door to the upstairs hall, and no streaks or shine left.

Process

  1. Before work Boards in oatmeal and soft white, set on the landing and checked morning and evening.
  2. Day one Tower up; treads, handrail and window masked; walls lightly sanded and cleaned.
  3. Day two Undercoat on all walls.
  4. Day three First coat, starting on the tall wall beside the stairs.
  5. Day four Second coat in the same order.
  6. Day five Touch-ups, masking off and the tower down.

Planning right

  • Many paints sold as a “limewash look” are acrylic and breathe like ordinary paint. The binder is listed on the product’s safety data sheet if you want to check.
  • Whatever the label says, a painted wall needs the right undercoat before real lime goes on.
  • Wet lime is caustic, so the treads and handrail are covered and any splash is wiped at once.
  • The landing window throws side light along the wall, so the boards are checked in that light.
Request a free quoteMore about interior limewash walls

Charcoal accent wall turned warm white in a 1980s family room

Example project

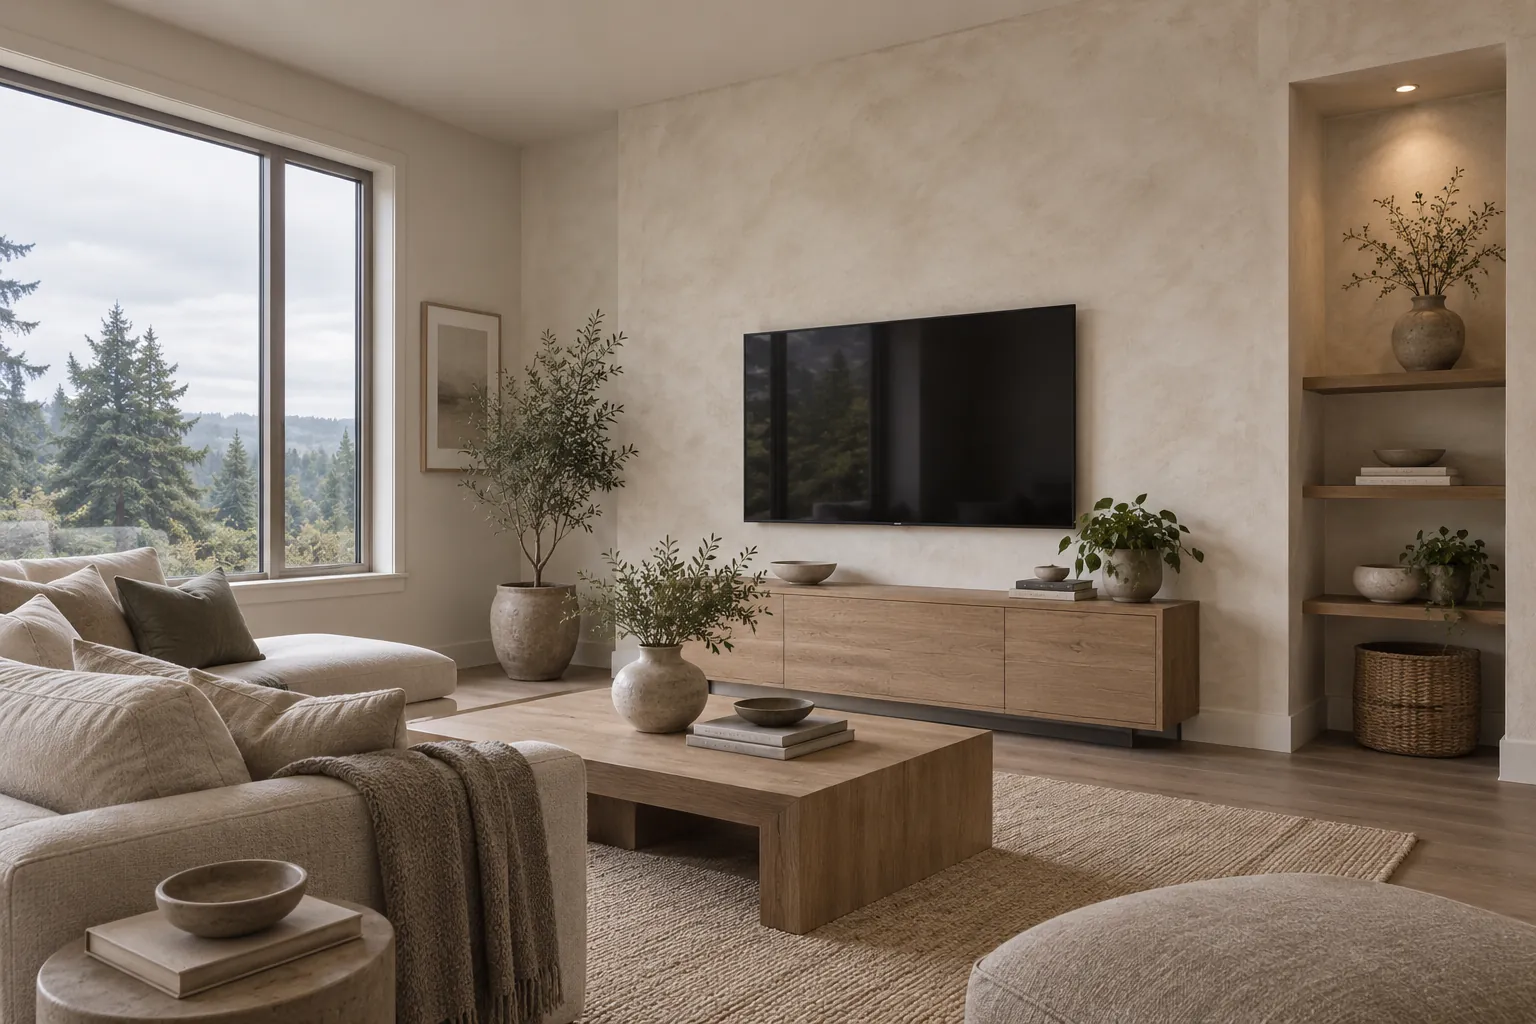
Warm white limewash on a family room TV wall, with a lit shelf niche, an oak console and a sofa in front
Home
1980s house, family room with a TV wall and a lit niche
Original request
Cover a dark charcoal accent wall with a warm white
Surface
Painted drywall on the TV wall and inside the niche
Area
About 145 sq ft of wall
Existing finish
Charcoal eggshell paint
Finish
Undercoat, then a lime paint in warm white, two coats, and a third if the dark still shows
Timeline
Two to three working days
Estimated cost
$1,200

Scope of work

TV off the wall; light sanding and cleaning of the eggshell paint; the undercoat; two brushed coats of warm white, and a third where the charcoal still shadows through; masking of the niche shelves, console and floor.

Project overview

In this example, the TV wall is painted charcoal as an accent, and against the light floors and sofas it now reads as a dark hole. The owners want it warm white, with the soft texture of lime instead of flat paint.

Fresh lime is semi-transparent until it dries, so a dark wall underneath can show through a pale color. A board painted the same charcoal, then undercoated and limewashed, shows whether two coats are enough or a third is needed.

The goal

The goal is a warm white TV wall with soft lime movement and no charcoal showing through, so the whole family room feels lighter.

Process

  1. Before work A board painted charcoal, undercoated, then brushed with two and three coats of warm white.
  2. Day one TV down, masking, light sanding and the undercoat.
  3. Day two First and second coats, the second once the first has dried.
  4. Day three, if needed A third coat where the charcoal still shows.

Planning right

  • Warm white over charcoal can look gray after the first coat. Judge the color only once the last coat is fully dry.
  • The estimate allows for a third coat. If the board shows two are enough, that day drops out.
  • Check the boards with the niche light on as well as off. Light shining down a wall picks out brush marks.

Request a free quoteMore about interior limewash walls

Yellowed, sealed brick wall in a 1980s dining area

Example project

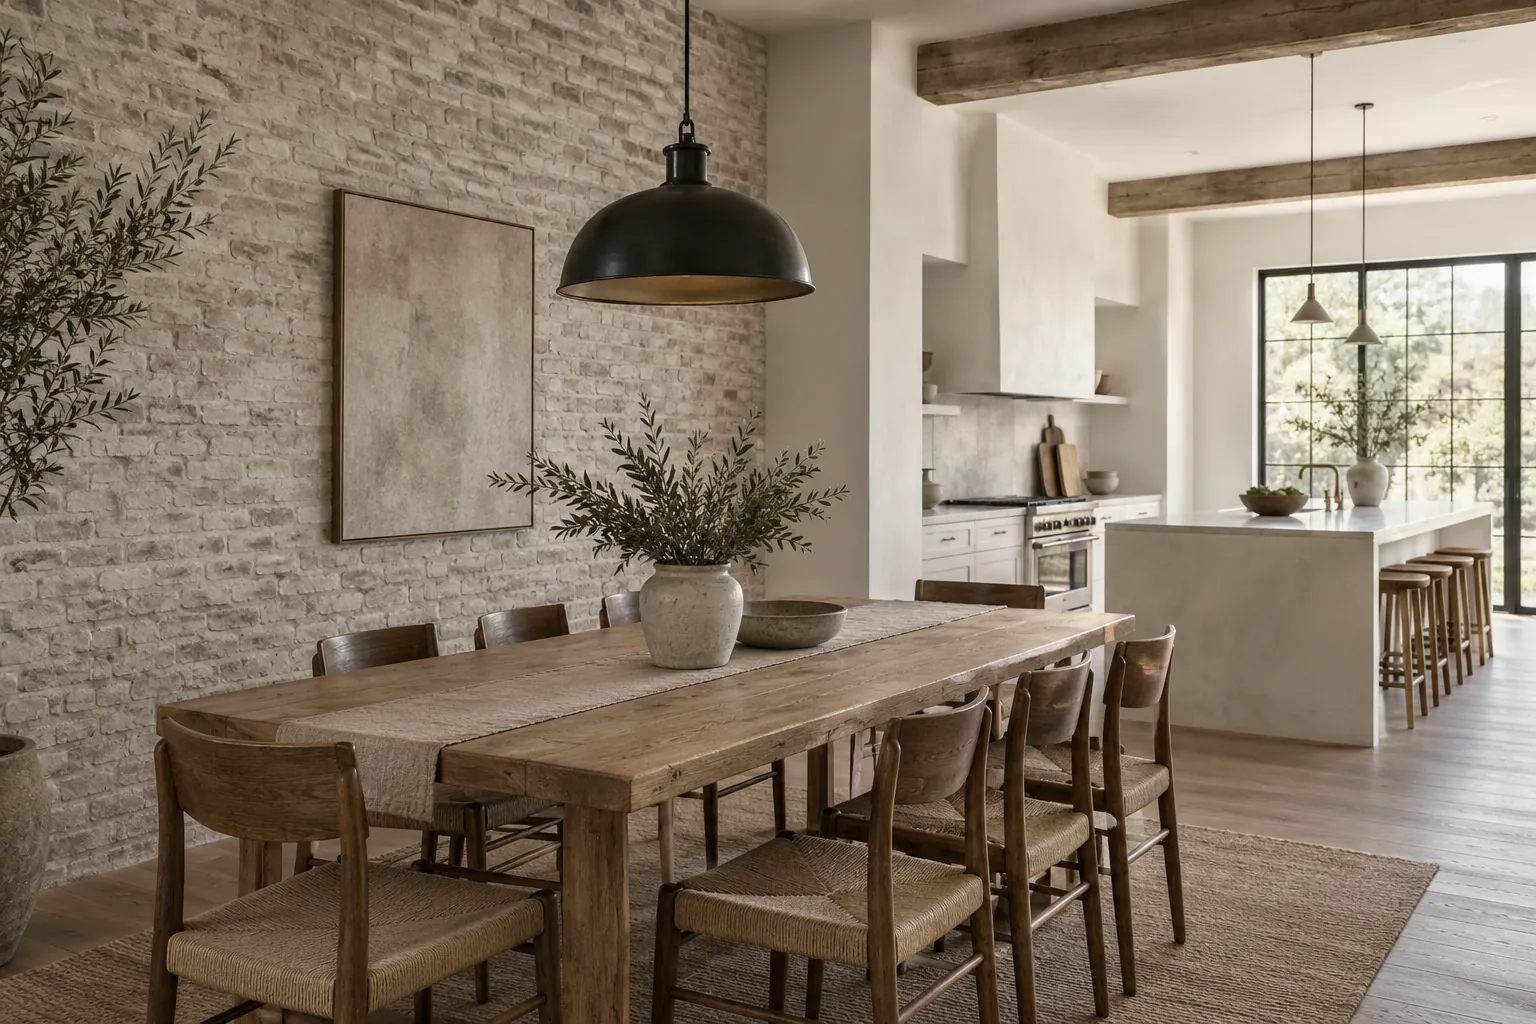
Pale gray-white limewash on an interior brick wall beside a long wooden dining table and a black pendant light
Home
1980s two-story house, open kitchen and dining area
Original request
Pale lime over brick that has a yellowed clear sealer on it
Surface
Brick wall on the dining side of the open kitchen
Area
About 160 sq ft of brick
Existing finish
Clear gloss sealer, yellowed with age
Finish
Primer for sealed brick, then pale gray-white limewash, two coats
Timeline
Two working days
Estimated cost
$1,450

Scope of work

A water test across the wall to find where the sealer still holds; cleaning and degreasing; a primer made for sealed or dense brick; two brushed coats; protection of the floor, cabinets and ceiling.

Project overview

In this example, the brick carries an old clear gloss sealer. It has yellowed, and water beads on it, so plain limewash would not soak in. The owners want the wall pale but still clearly brick.

Drops of water show where the sealer still holds. Where water sits on the surface, the brick takes a primer made for sealed brick first, and then two coats of a pale gray-white.

The goal

The goal is a pale gray-white brick wall with no yellow cast, where every brick and joint still shows.

Process

  1. Before work Water drops across the wall, and a board primed and brushed in pale gray-white.
  2. Day one Protection, cleaning and degreasing, and the primer where the sealer holds.
  3. Day two Pale gray-white brushed on in two coats, then clean-up.

Planning right

  • Spray the brick with water for a minute or two. If it soaks in, no primer is needed there. If it beads, that part needs one.
  • Some old sealers contain silicone, and lime cannot go over those at all. A small test patch shows this before the job is booked.
  • Brick indoors hardens more slowly than brick outside and can feel chalky at first. Avoid rubbing it for the first weeks.

Request a free quoteMore about limewash brick

Clothing shop walls redone in evening shifts

Example project

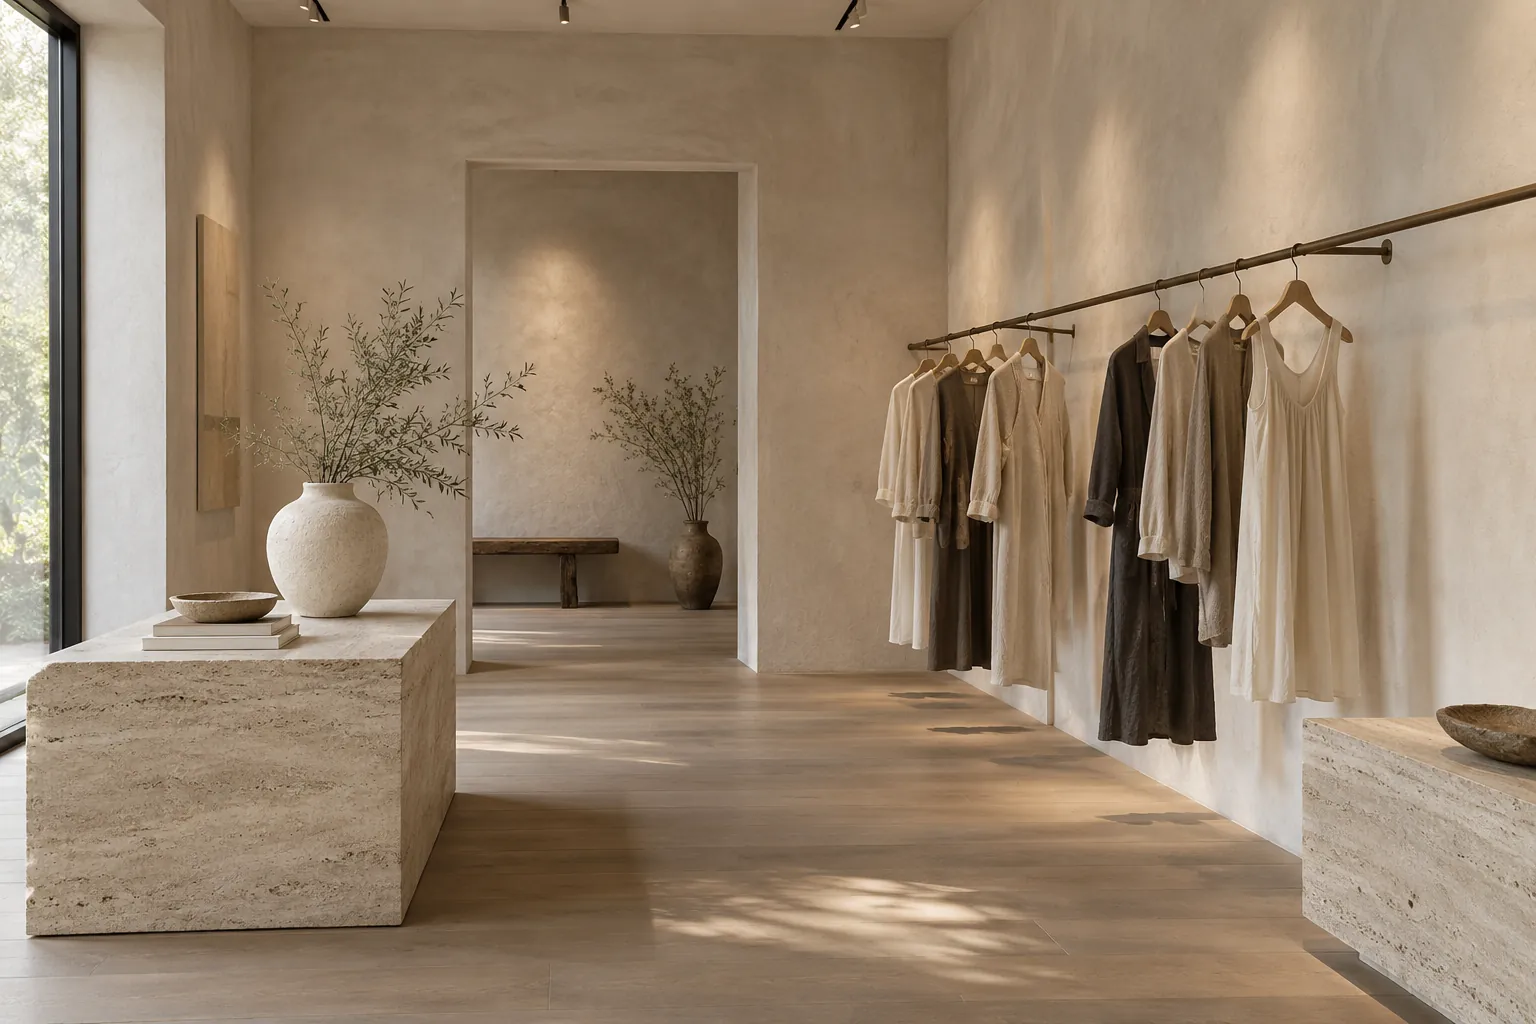
Boutique with warm clay limewash walls, linen dresses on a bronze rail and a doorway to a back room with a bench
Building
Clothing shop with a long hanging rail and a doorway to a back room
Original request
A new wall finish without closing the shop
Surface
Painted drywall
Area
About 400 sq ft of wall
Existing finish
Scuffed eggshell paint
Finish
Pale clay lime paint, two coats on an undercoat, sealed along the rail wall
Timeline
Four evening shifts, plus a short visit several days later
Estimated cost
$4,200

Scope of work

Work from closing time each evening; stock moved to the middle of the floor and covered; light sanding and cleaning; the undercoat; two brushed coats; the shop aired and cleared for opening each morning; a clear matte sealer on the rail wall several days after the last coat.

Project overview

In this example, the shop walls are scuffed eggshell paint and the owner wants a soft clay color with more life in it. The shop cannot close for days, so every step happens after closing time.

Each evening covers one step, and the floor is cleared and swept before morning. The rail wall, where clothes and shoulders brush past, gets a clear matte sealer on a later evening, several days after the last coat.

The goal

The goal is a calm clay-colored shop with soft movement on every wall, finished without losing a single opening hour.

Process

  1. Two weeks before Boards in pale clay, checked under the shop lights after closing.
  2. Evening one Stock moved and covered, walls lightly sanded and cleaned.
  3. Evening two Undercoat.
  4. Evening three First coat of pale clay.
  5. Evening four Second coat and clean-up.
  6. Several days later Clear matte sealer on the rail wall after closing.

Planning right

  • The sealer goes only on the rail wall. The other walls stay plain lime, which is fine where nobody brushes past.
  • Fresh lime hardens slowly as it takes in air. Rails and hangers go back up with care, and nothing leans on the walls for the first days.
  • Federal Way’s permit exemption for painting is written for homes. For a shop, check with the city first.

Request a free quoteAbout commercial limewash

More limewash finishes

Here are more limewash images, from soft interiors to brick, stone and stucco outside. Treat them as concept images for choosing a mood, and settle the exact color on boards brushed onto your own surface.

Interior walls and rooms

A chalk-white limewashed wall with a compact walnut sideboard and a stoneware vase of dried branches
Chalk-white limewash wall with a walnut sideboard
Ivory limewash on a living-room wall in low morning light
Warm ivory limewash wall in a living room
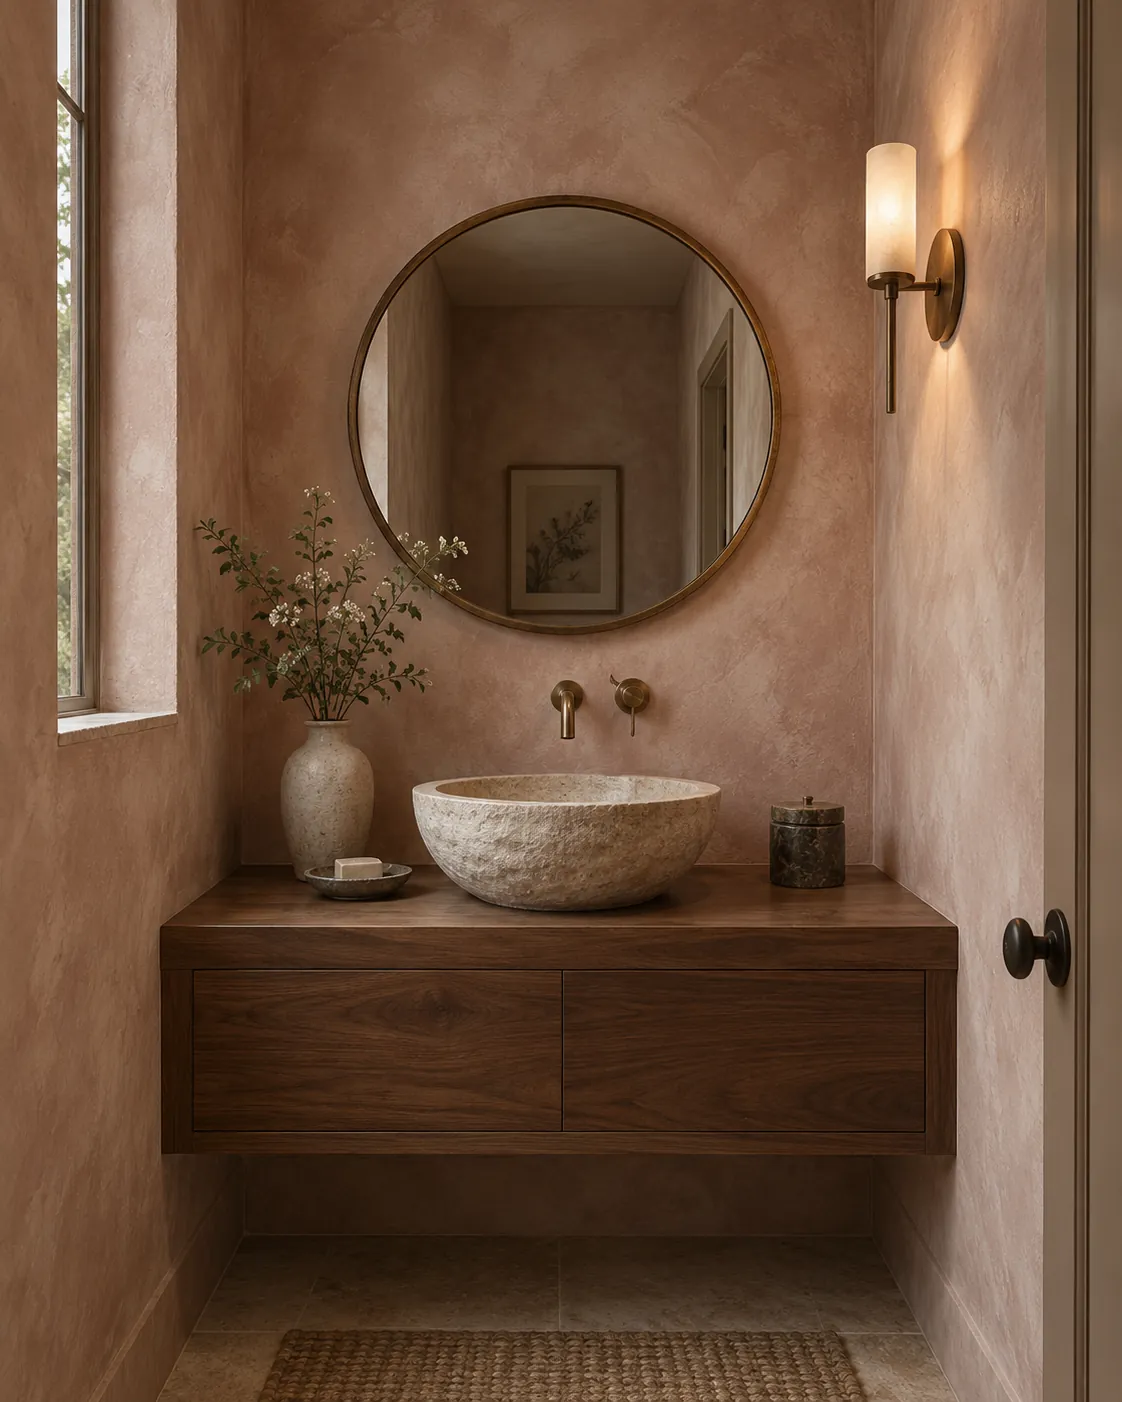
Powder room with clay-pink limewash walls and a carved stone basin
Clay-pink limewash in a powder room
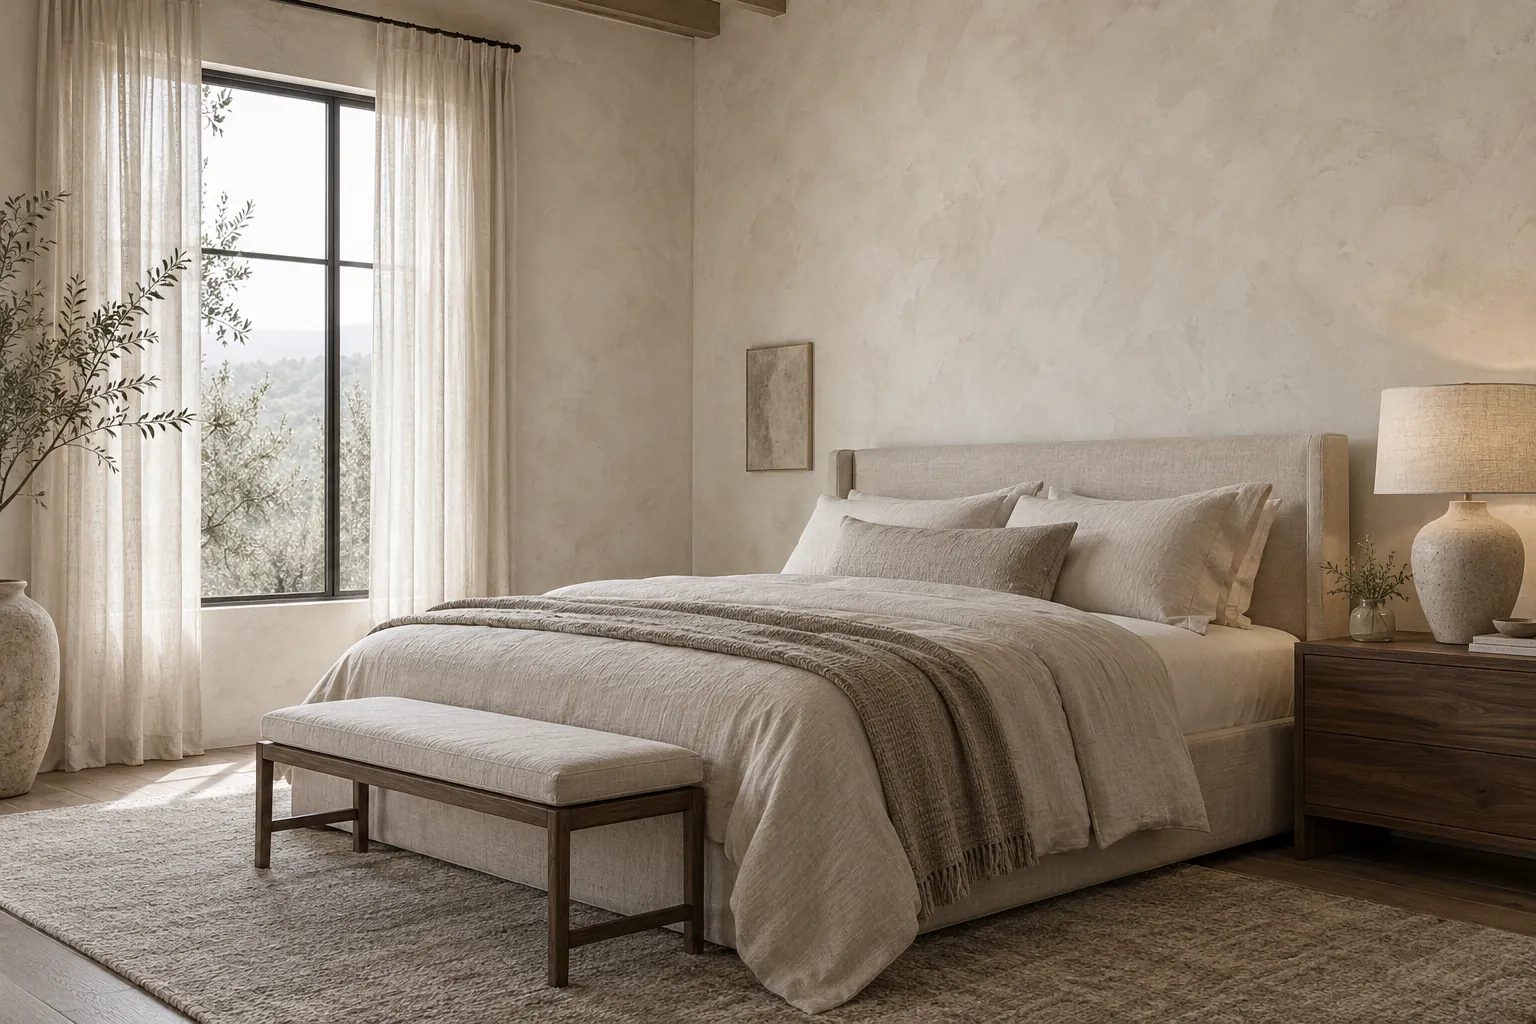
Bedroom with putty-white limewash walls
Putty-white limewash in a bedroom
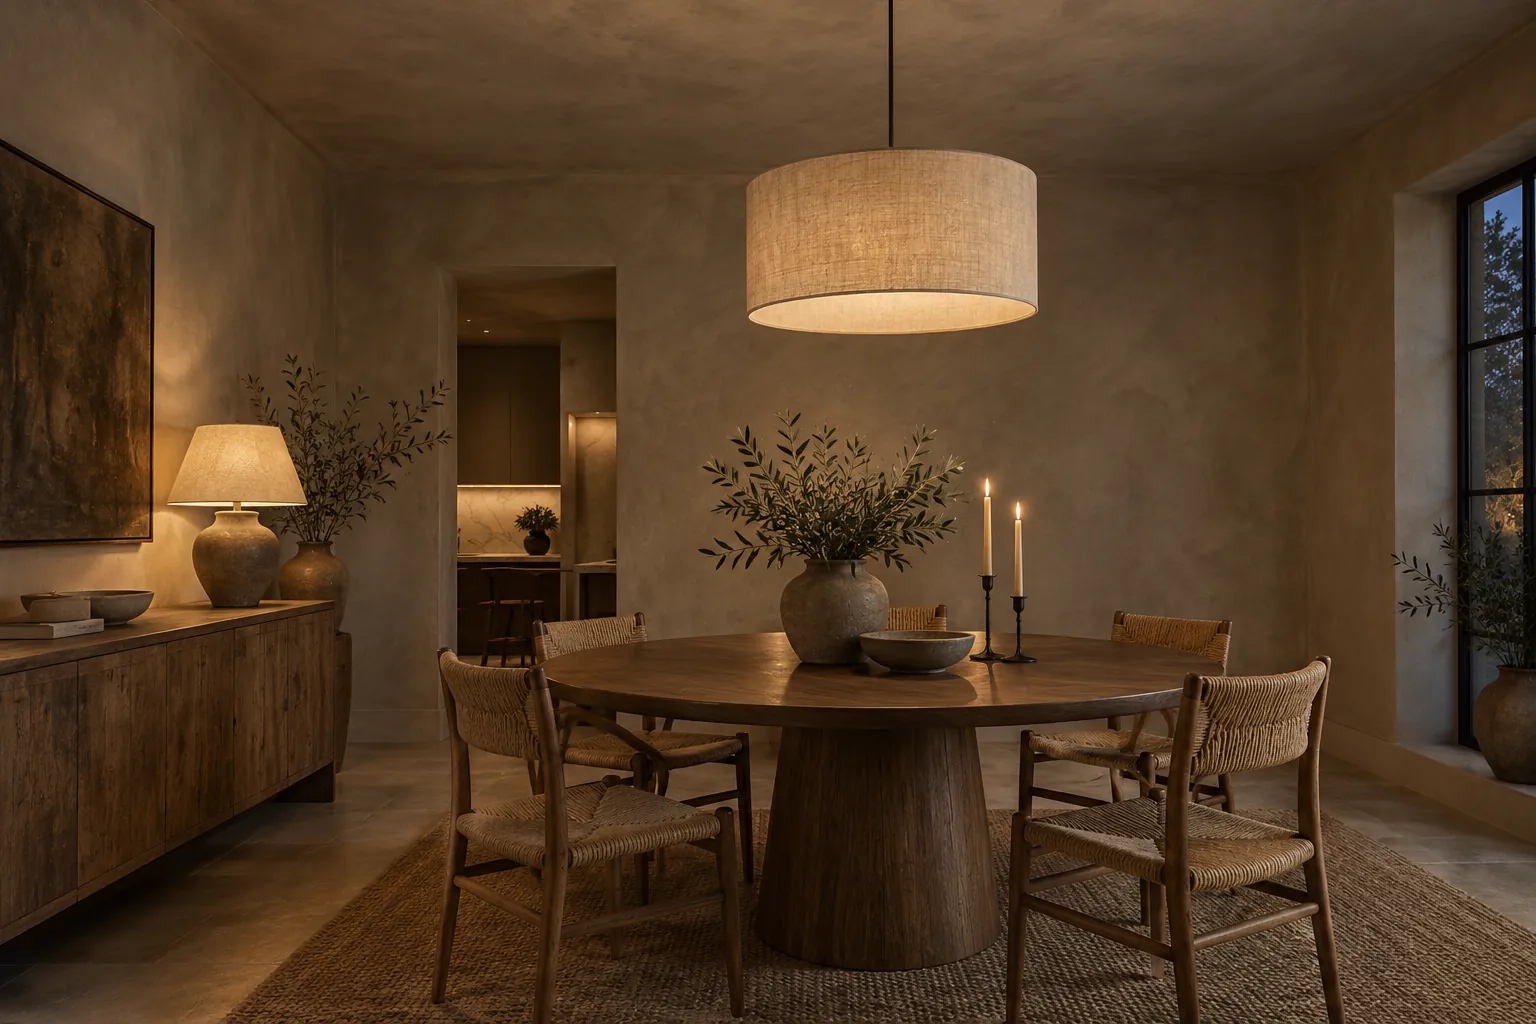
Dining room with walls and ceiling in mushroom limewash
Deep mushroom limewash on walls and ceiling
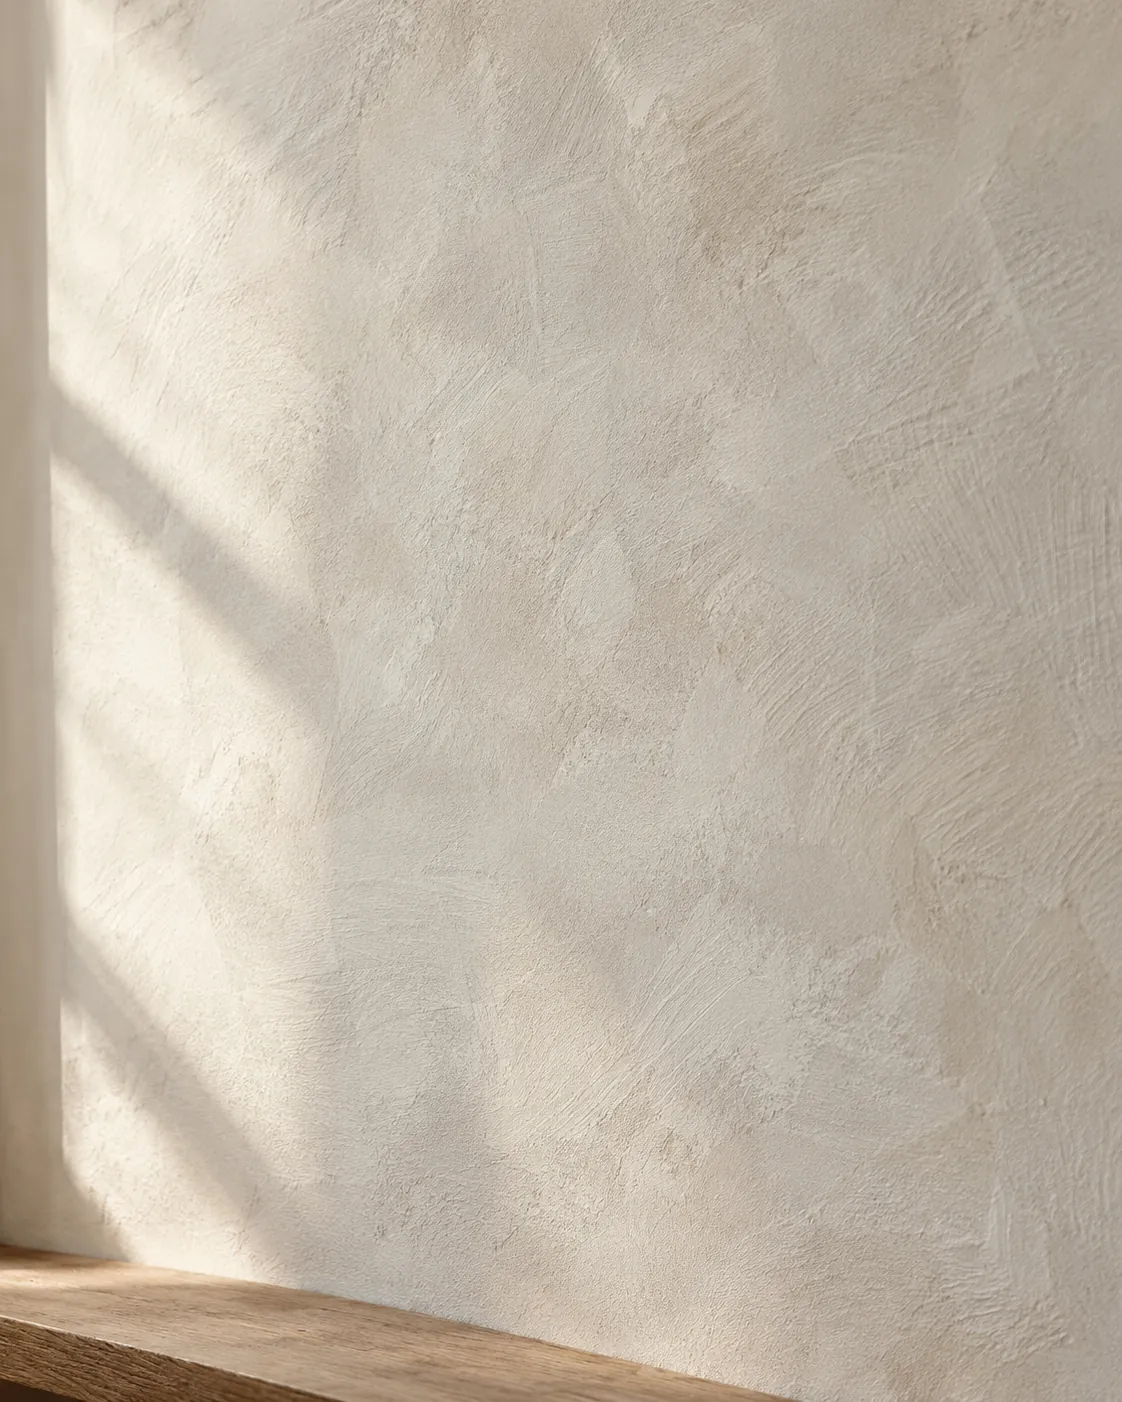
Close view of clouded limewash texture
Close detail of limewash brush movement
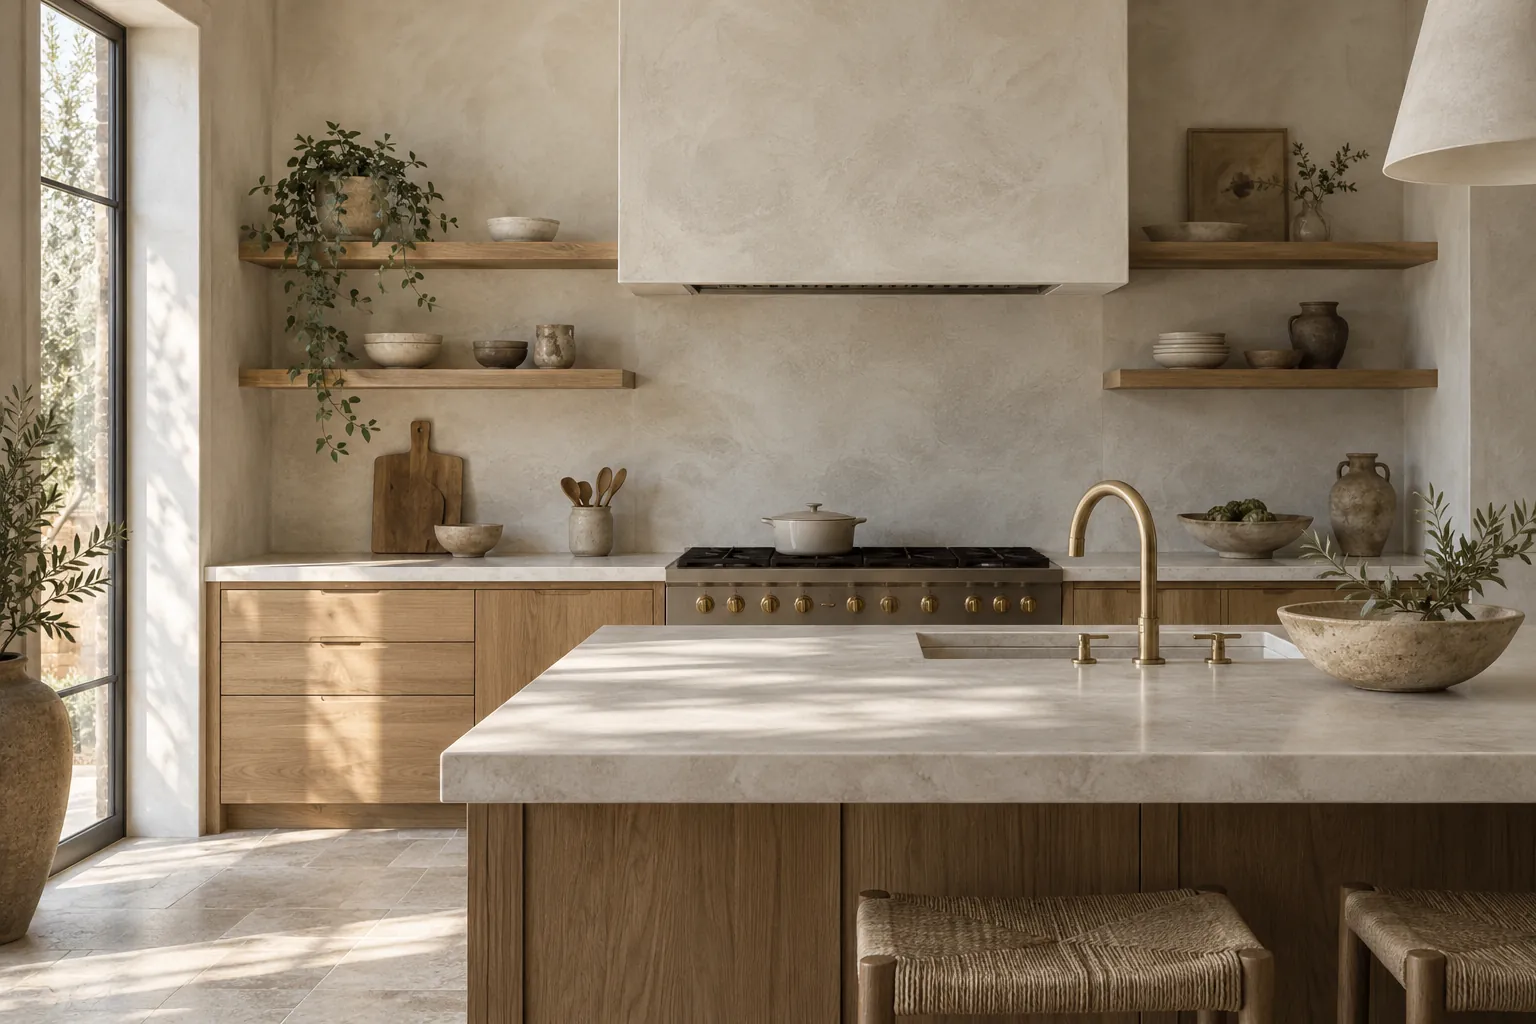
Kitchen with limewash range hood and wall behind open shelves
Creamy limewash on a range hood and kitchen wall

More surfaces and commercial interiors

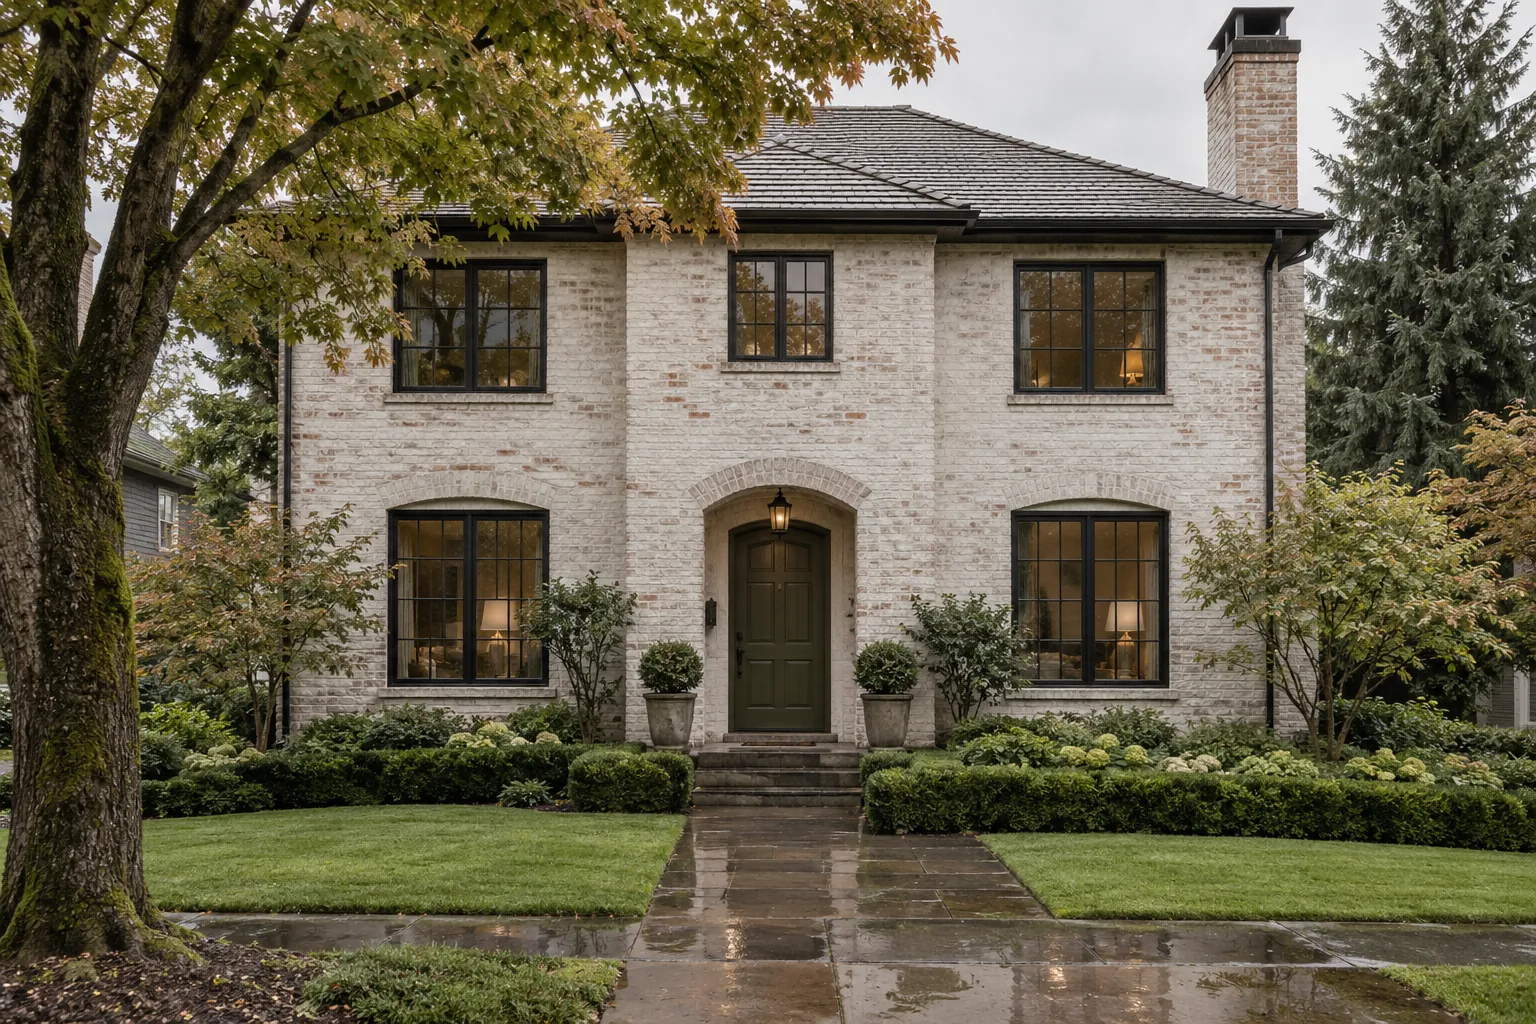
Two-story brick house with soft white limewash
Brick house limewashed in soft warm white
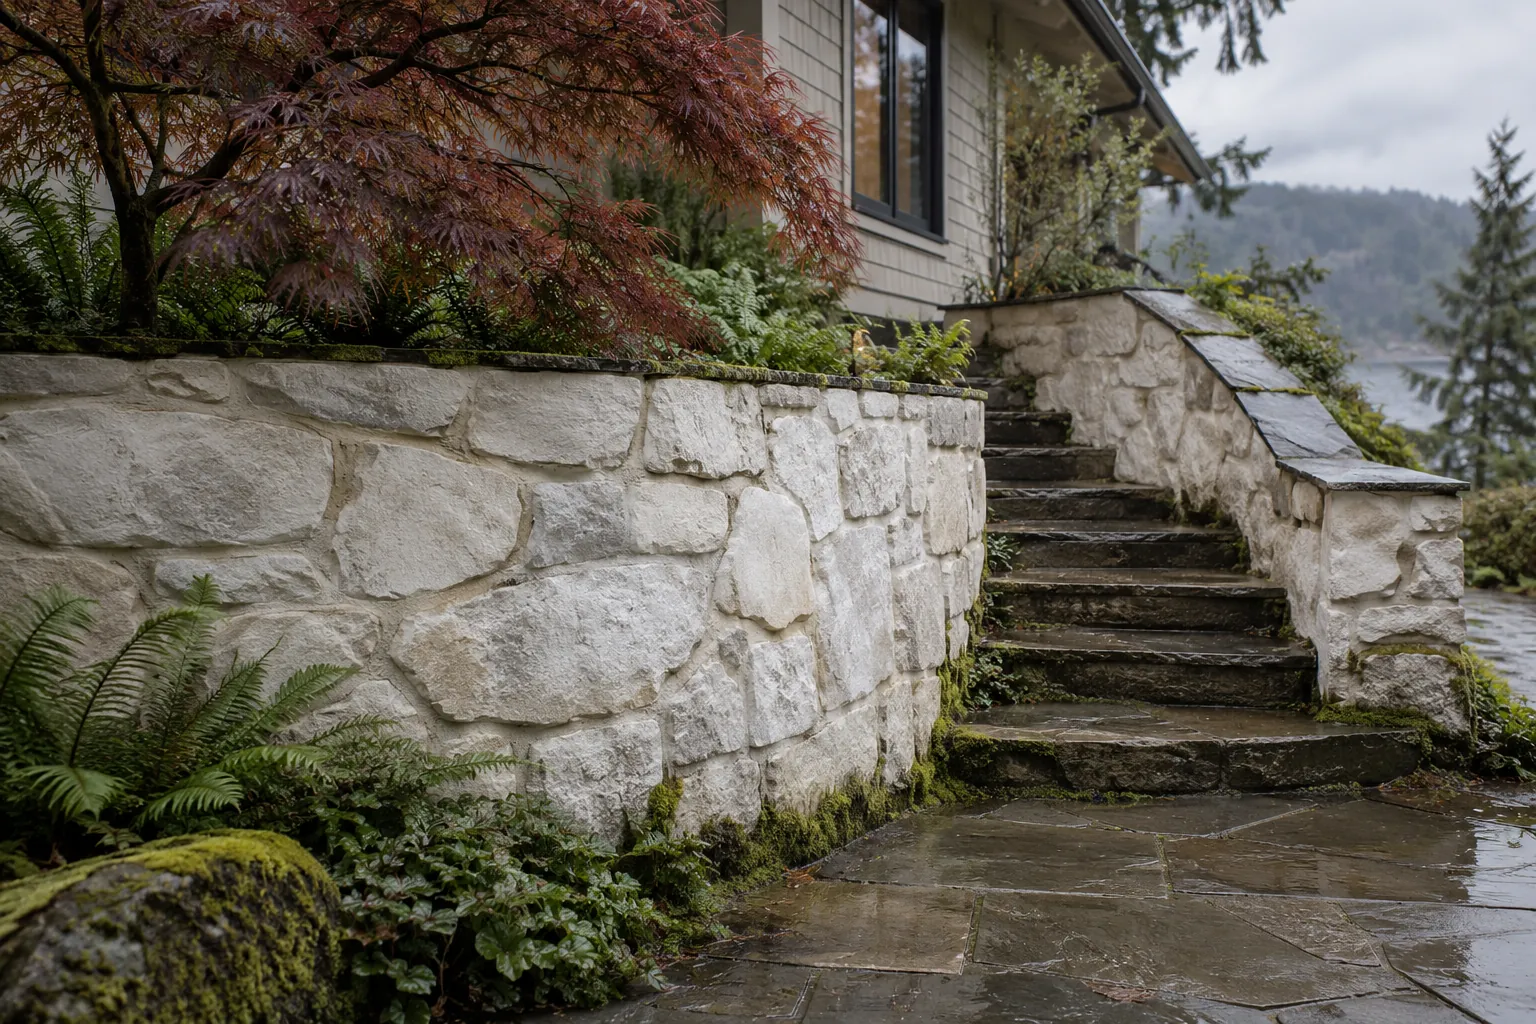
Fieldstone retaining wall and steps limewashed bone white
Fieldstone retaining wall in bone-white limewash
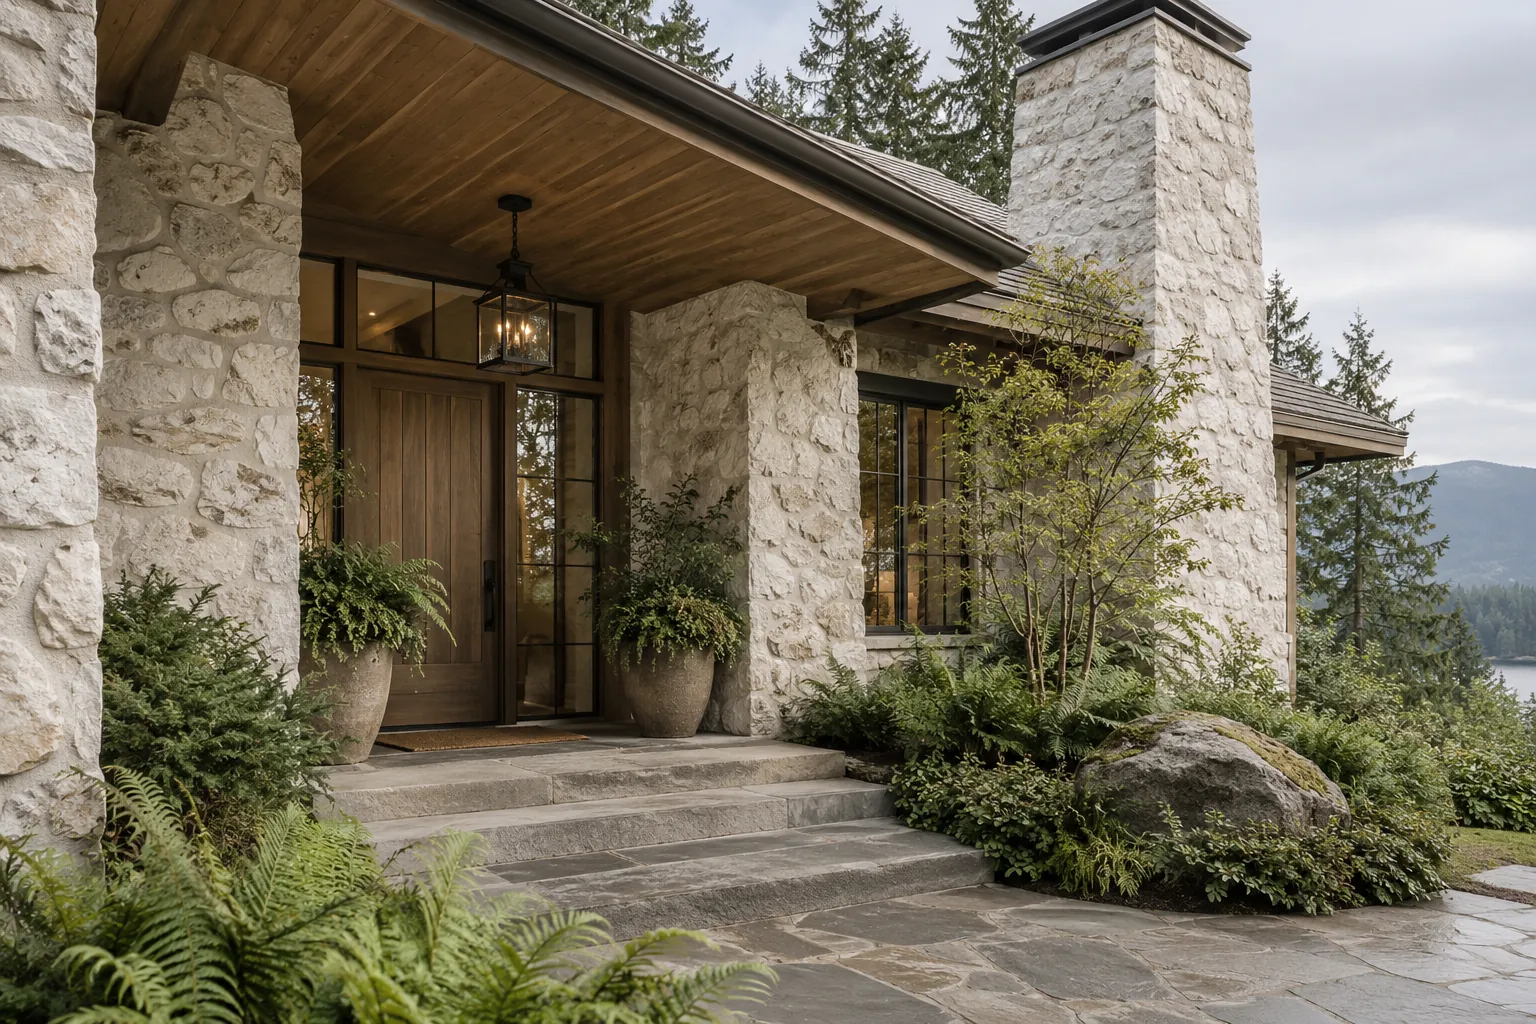
Fieldstone entrance and chimney limewashed bone white
Fieldstone entry and chimney in bone-white limewash
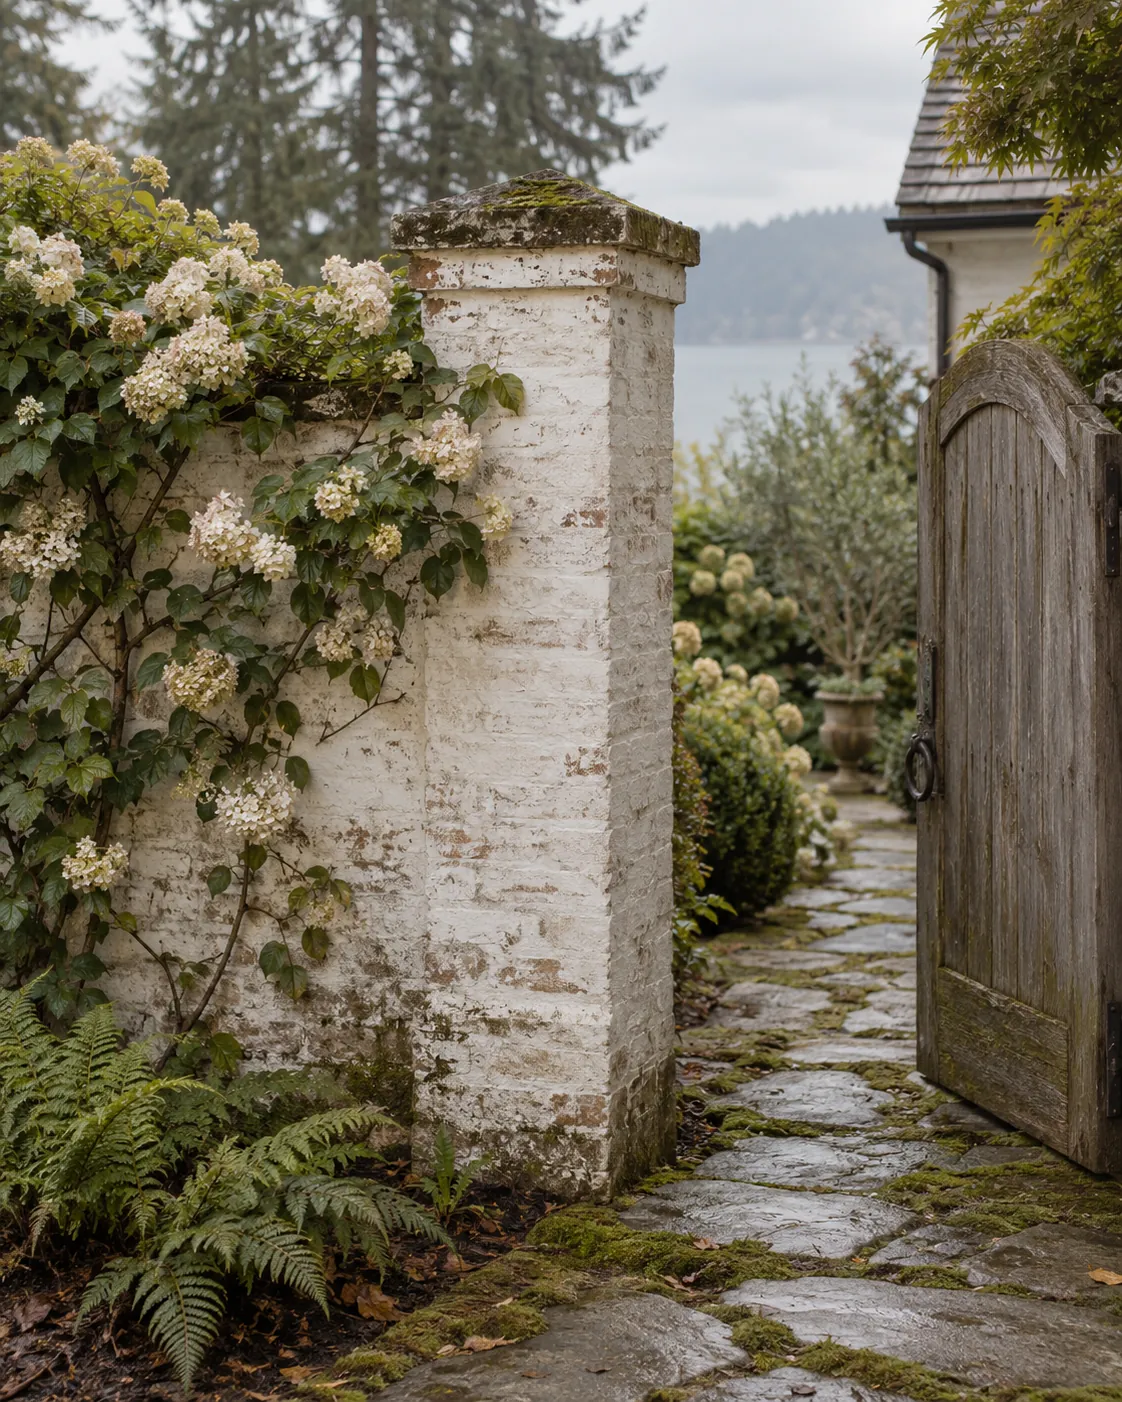
Brick garden pier with weathered limewash
Weathered white limewash on a brick garden pier
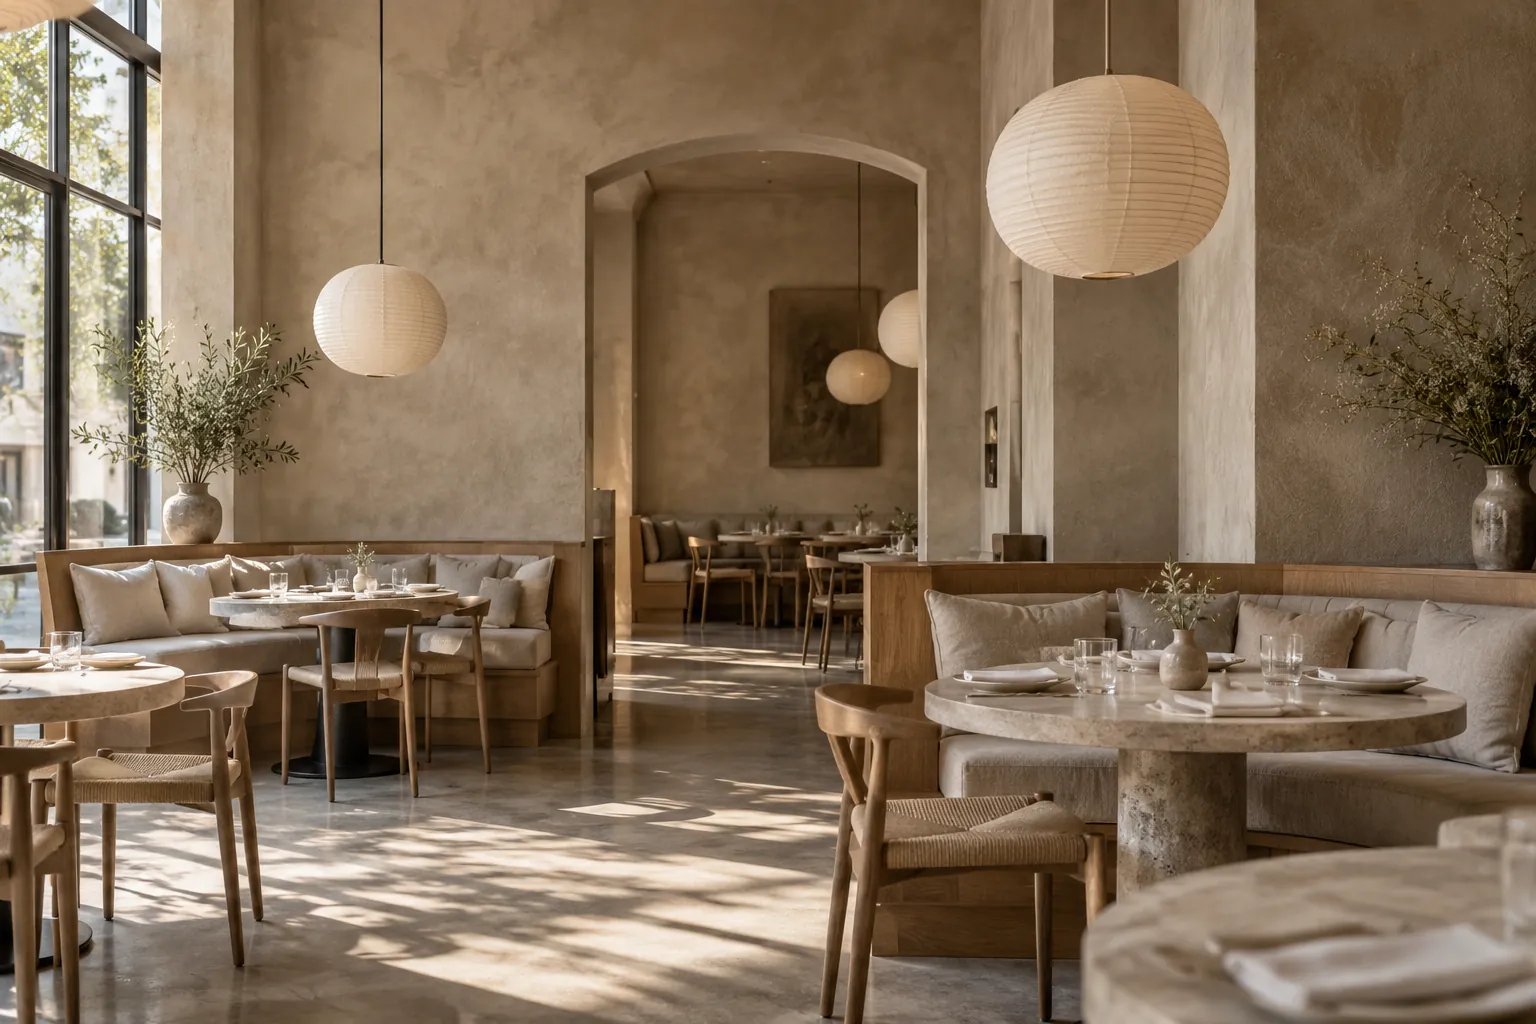
Restaurant dining room with taupe limewash walls
Warm taupe limewash in a restaurant dining room
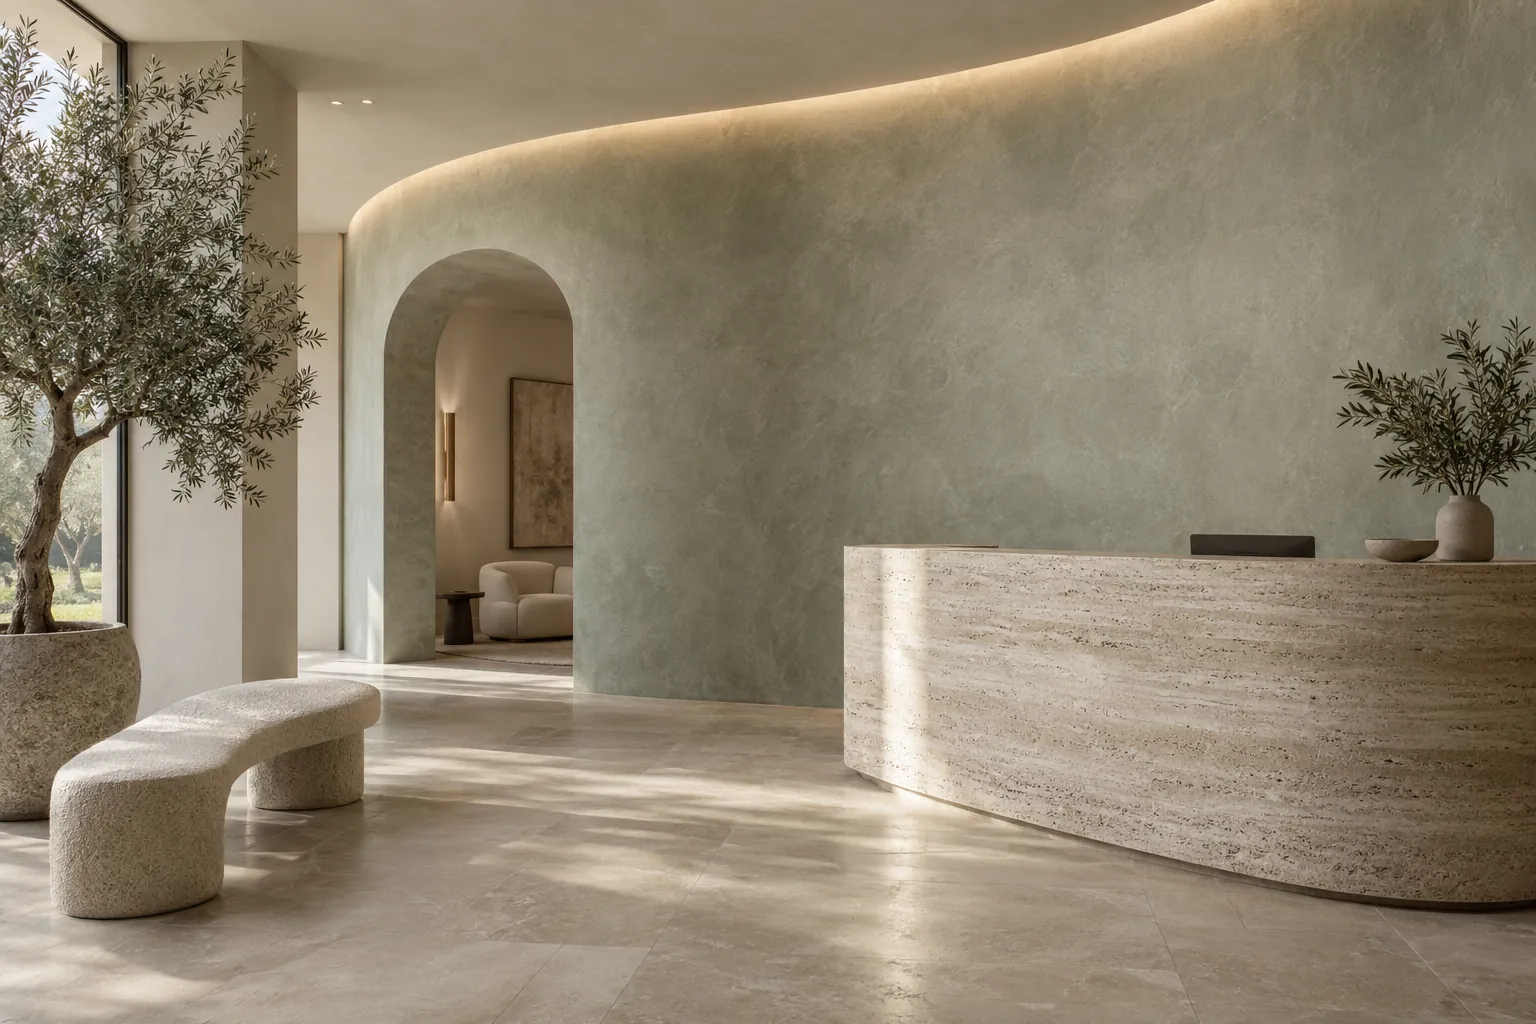
Lobby with a curved gray-green limewash feature wall
Gray-green limewash on a curved lobby wall
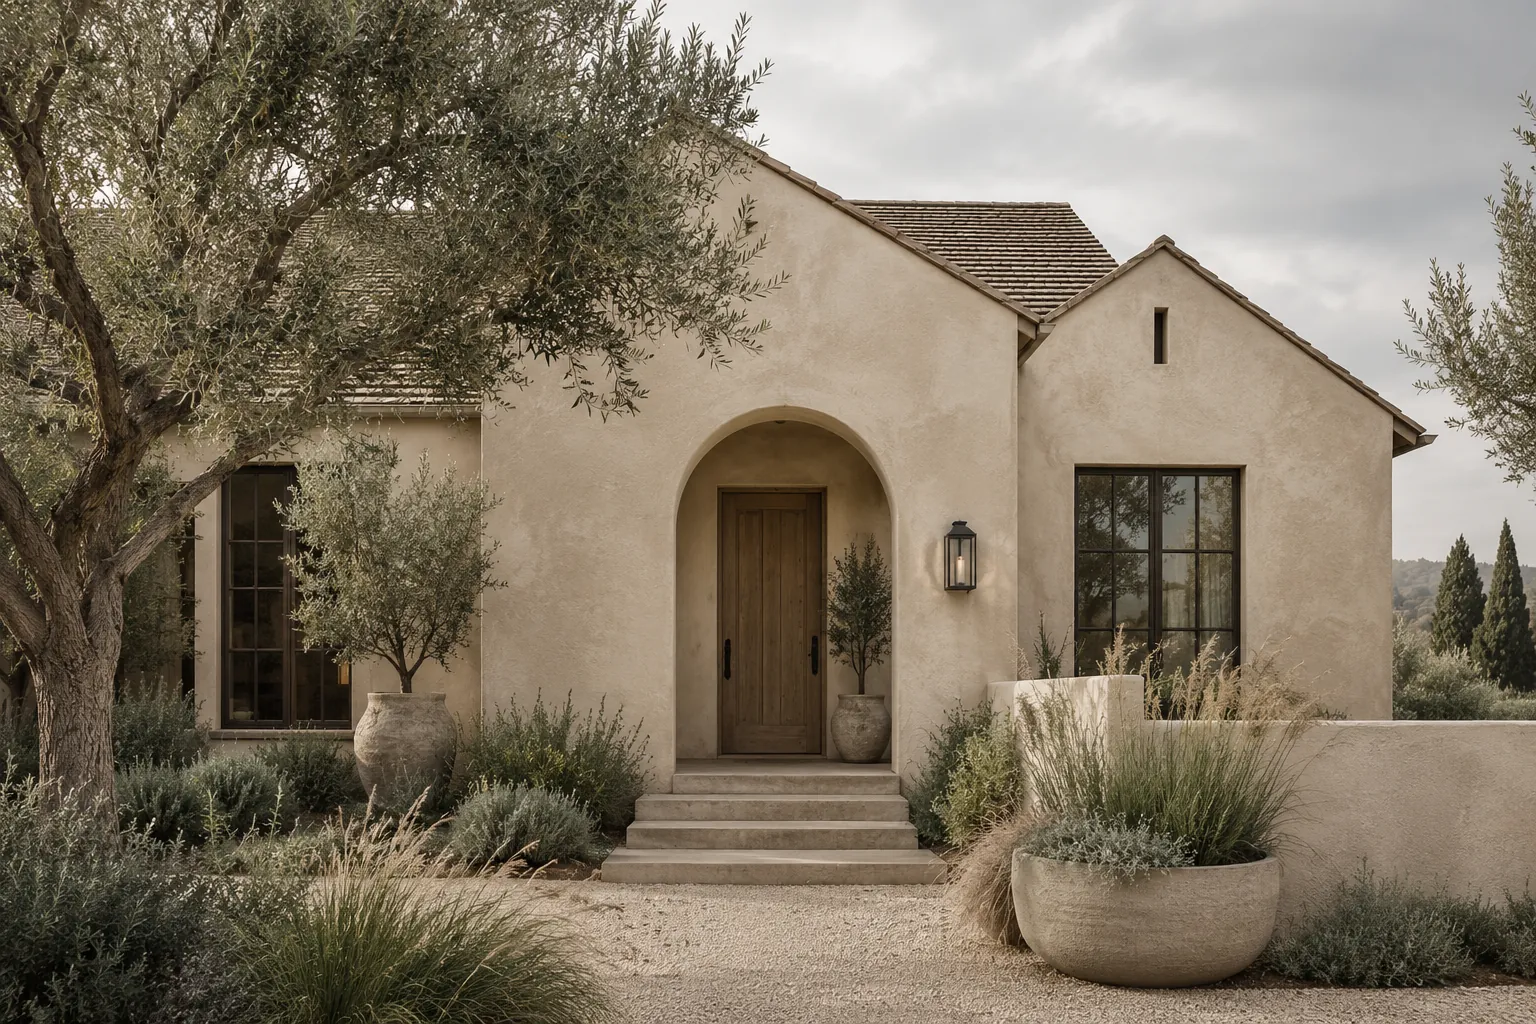
Single-story stucco house in sand-colored limewash
Warm sand limewash on a stucco house
Brick fireplace in white limewash between built-in shelves
Chalky white limewash on a brick fireplace
Limewash sample boards in six mineral colors
Hand-brushed limewash sample boards

Request a free limewash quote

Tell us which surfaces you have in mind, roughly how big they are and where the property is. We'll get back to you soon with an estimate or any questions we have. Estimates are free and there's no obligation.

Call (253) 785-4892

Call (253) 785-4892